Docs
Learn
Astro + Tina Setup Guide
TinaCMS can be added to your Astro site locally, enabling seamless content management and editing. This guide will walk you through the local setup, configuring your content model, running TinaCMS, and enabling visual editing.
Getting Started
1. Initialize TinaCMS in Your Astro Site
From within your site’s root directory, run the following command to initialize TinaCMS:
npx @tinacms/cli@latest init
This command will prompt you with a few setup questions. When asked for the public assets directory, enter:
public
Alternatively, you can use the TinaCMS starter template by running:
npx create-tina-app@latest --template tina-astro-starter
This will set up a blog-ready Astro Starter Template with TinaCMS preconfigured.
Modeling Your Content
To edit your site’s content using TinaCMS, define your content models in the tina/config.ts file.
Learn more about content modeling here.
Running TinaCMS
You can start TinaCMS with the following command:
npx tinacms dev -c "astro dev"
Note:--port 8080can be added afterastro devto specify a custom port.
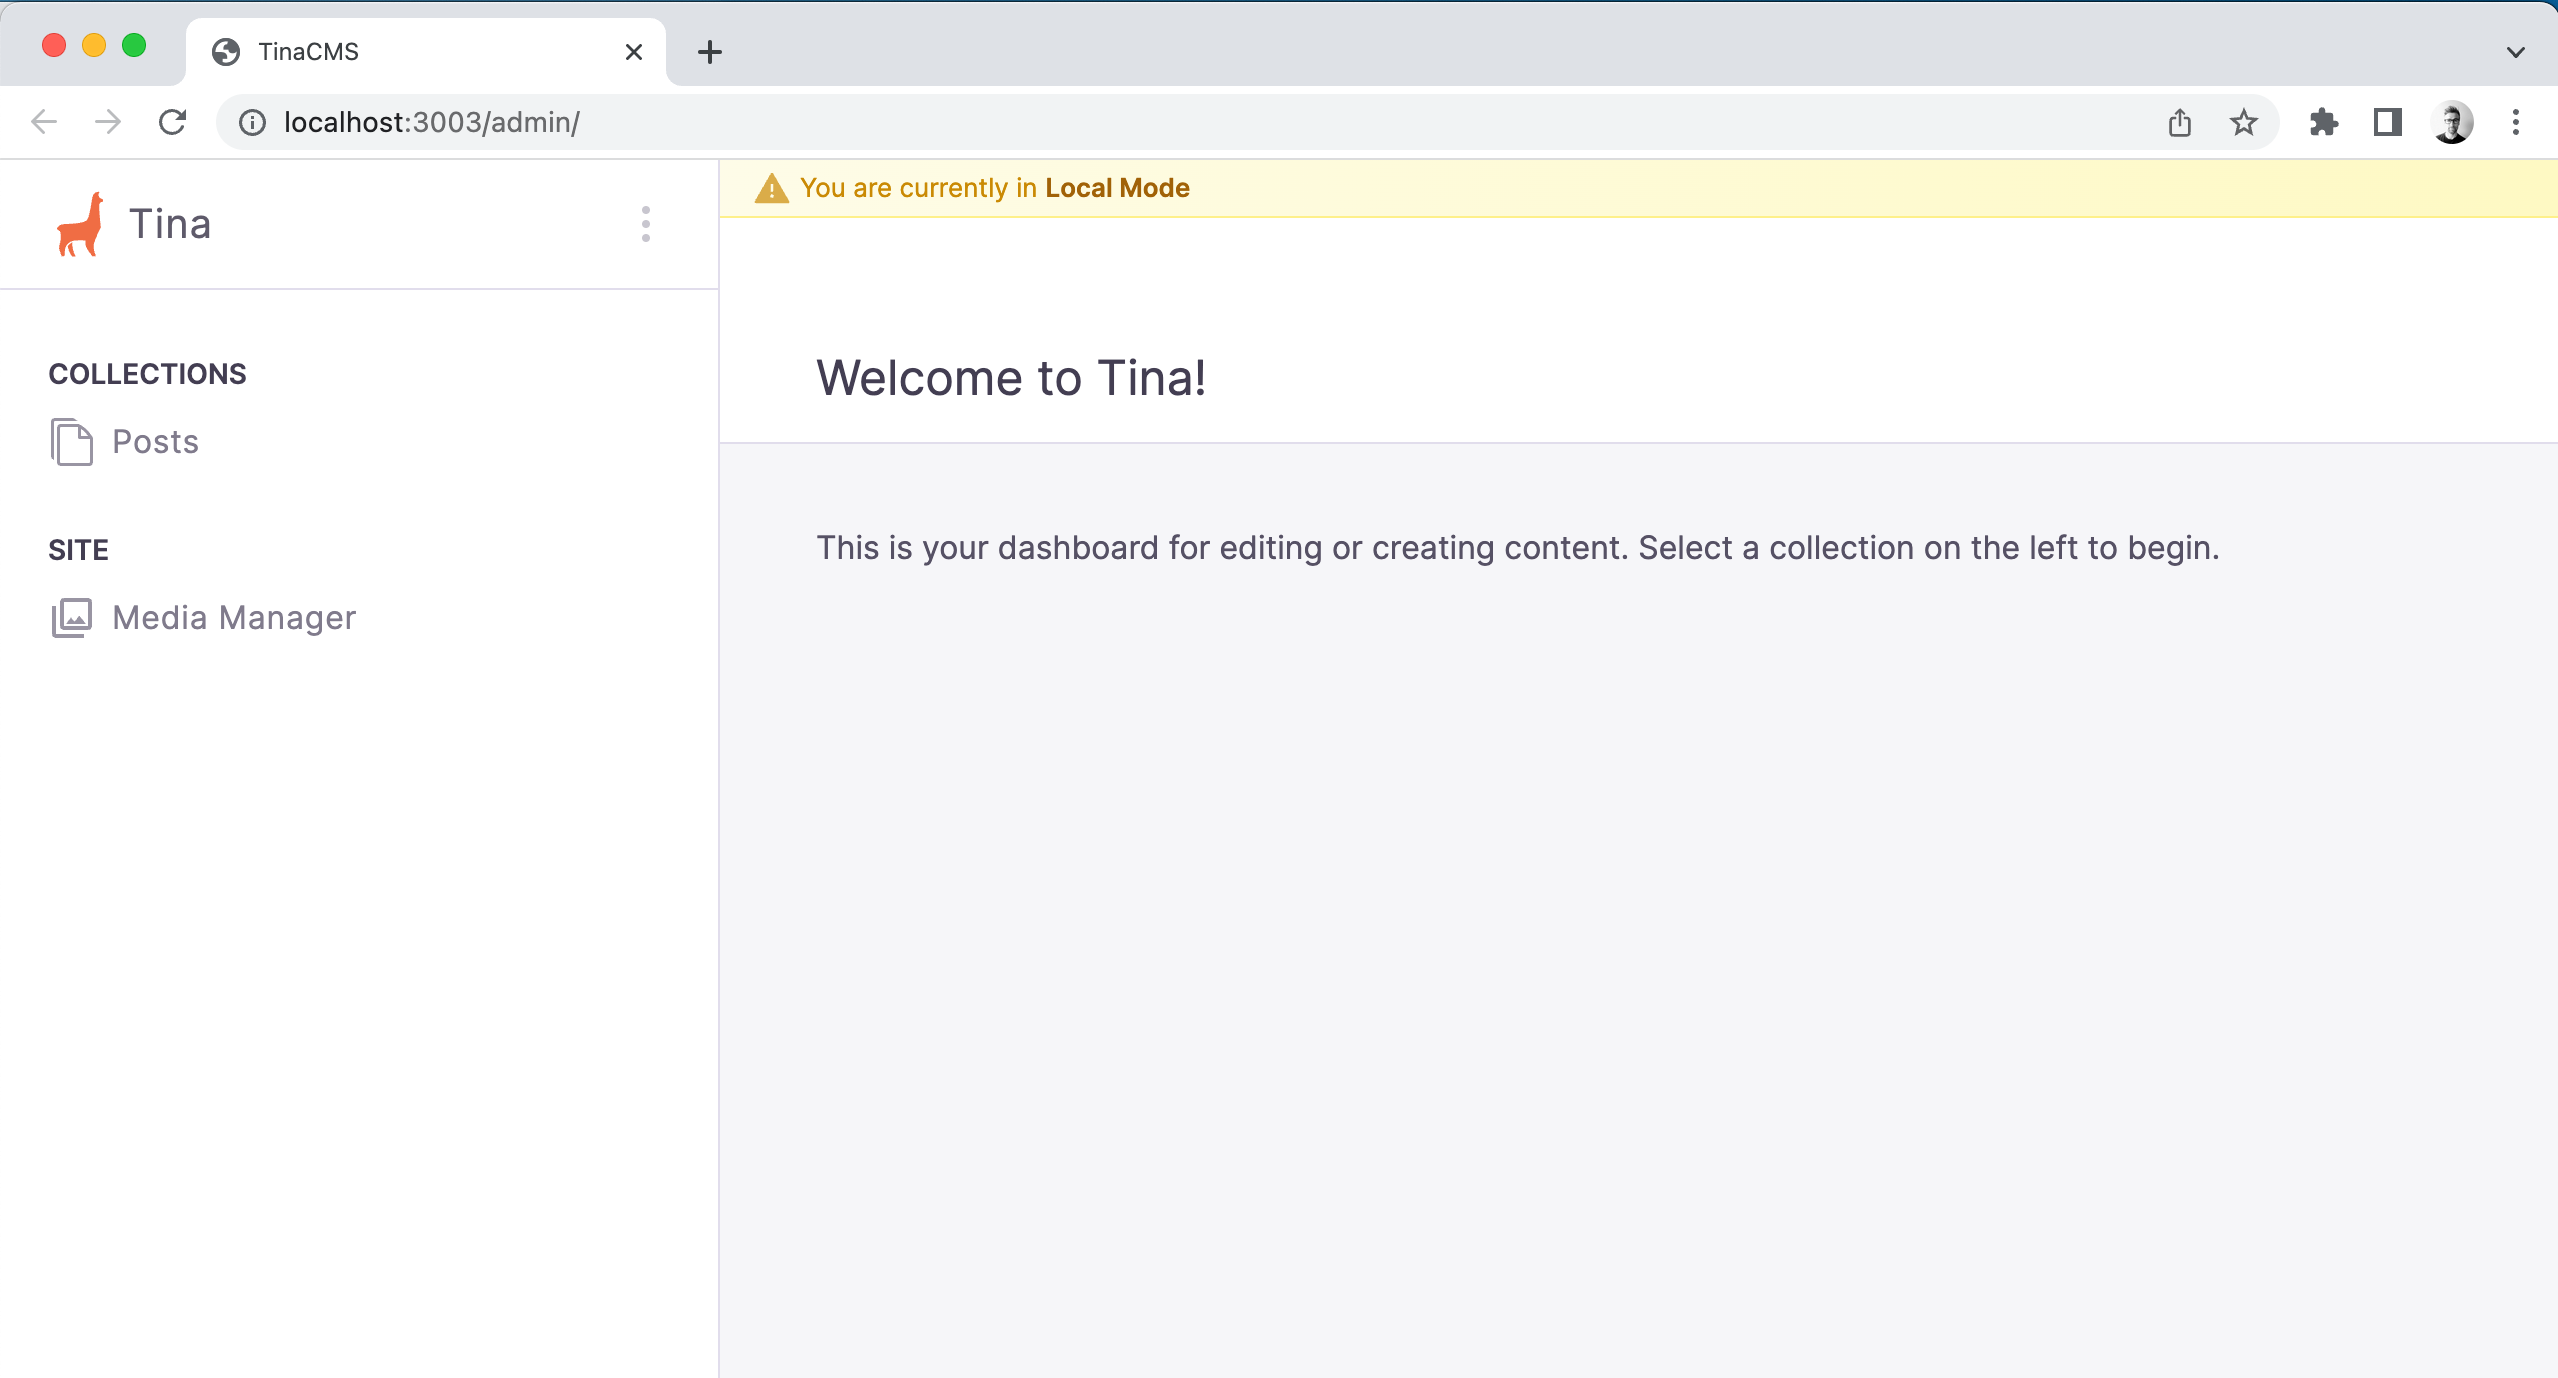
Once TinaCMS is running, navigate to:
http://localhost:<port>/admin/index.htmlor/admin (If using the Tina Astro Starter which redirects you to /admin/index.html)
Tip: If you encounter errors, check the Common Errors page.
At this point, you should be able to see the Tina admin interface, select a post, save changes, and observe updates persisting to your local markdown files.

Enabling Visual Editing (Optional)
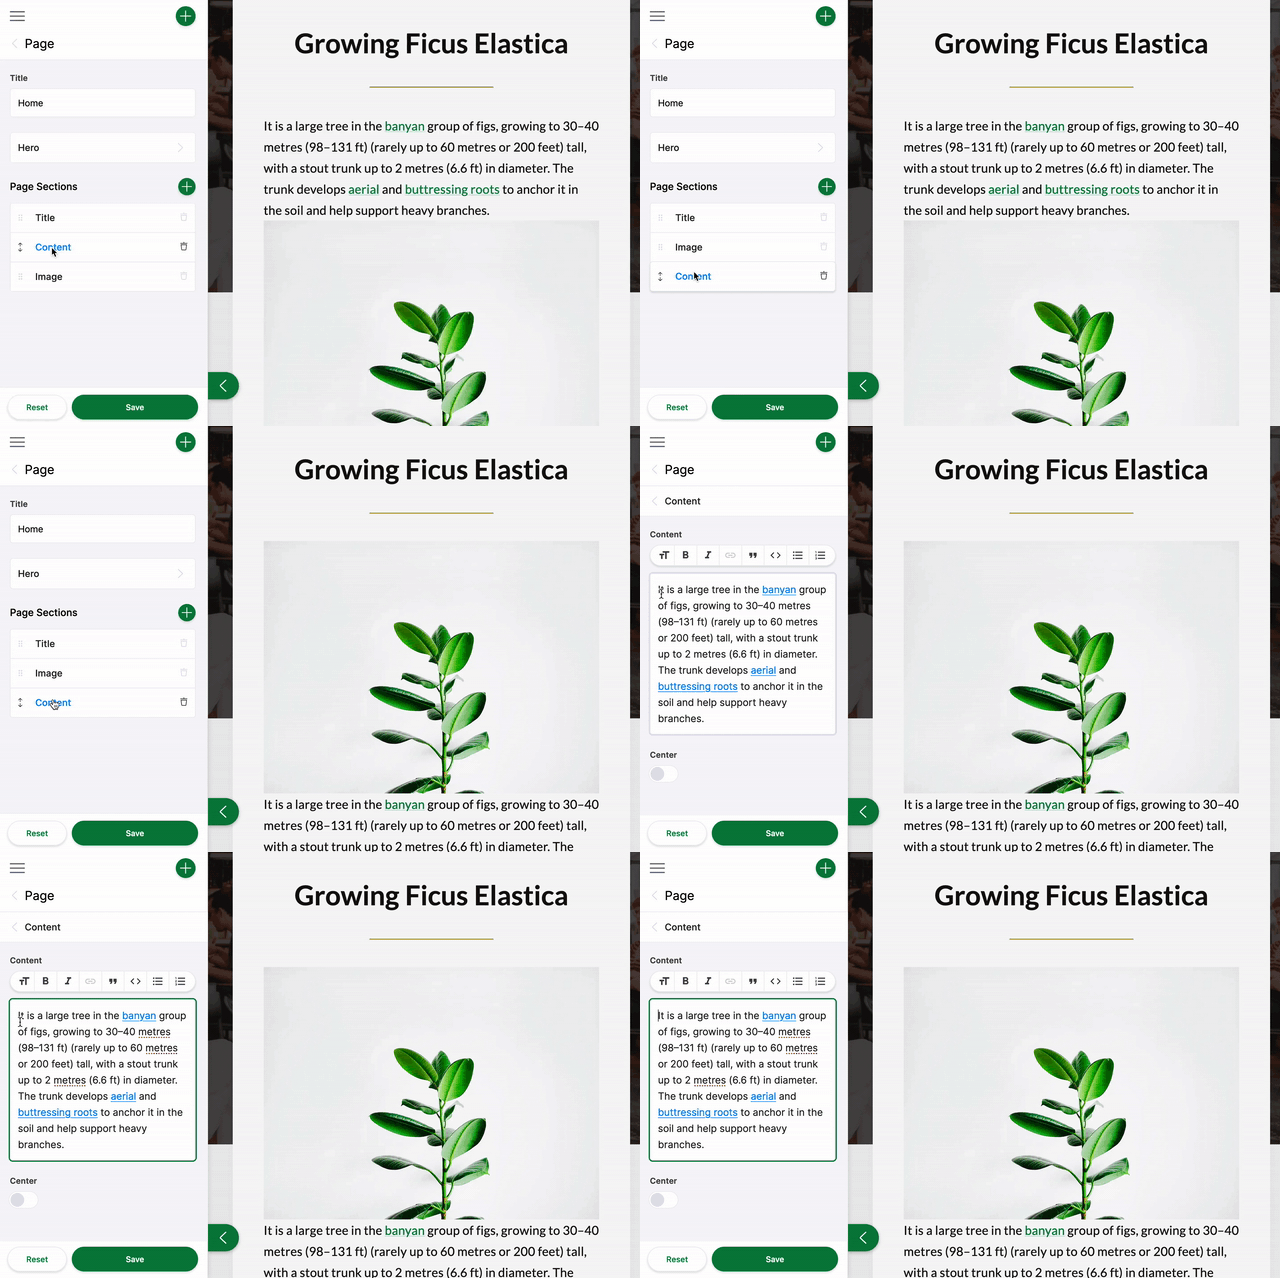
If you want to leverage TinaCMS's API for real-time editing, you can enable Visual Editing. To enable Visual Editing with TinaCMS we have had to use React components and a new client:tinaDirective.
Note: In the Astro Starter Template this is already enabled!

Read more about data fetching and visual editing.
Note: Visual Editing with Astro is currently experimental. See Discussion.
Next Steps
For more details, visit the official TinaCMS documentation and Astro documentation.
Join the TinaCMS Discord for community support.