Tina CMS - Get started
Until now, as a Tina user, you have enjoyed visual editing when interacting with your content. We know that while this experience is first class for your content team, the amount of time it takes to implement Tina with visual editing into your application is longer than you may want to invest when testing a new CMS.
Tina as a CMS in a traditional way
In order to give the best experience to all users, Tina now offers two ways to edit content, visual editing and a more traditional looking CMS. Except with our traditional CMS, we are still powered by Markdown, JSON, or MDX and backed by Git. Here is a quick GIF of what it looks like implemented on a deployed website:
How to implement Tina?
When we launched Tina + Cloud in it’s alpha, you had to do the following to get Tina integrated and we only supported visual editing:
- Add Tina using
npx @tinacms/cli init - Create your schema for your Markdown
- Implement your queries, for
getStaticPathsandgetStaticProps - Handle the props to make your content editable.
These steps are now cut in half. When you use just Tina as a CMS without visual editing, you will only need to do:
- Add Tina using
npx @tinacms/cli init - Create your schema for your Markdown
With that being said, let’s use the Next.js starter to create an editable blog using just the CMS.
The first step is to create the blog starter and initialize Tina
#Create your blognpx create-next-app --example blog-starter tina-cms-blog# Move into your new blogcd tina-cms-blog# Intialize Tinanpx @tinacms/cli@latest init
So what did Tina CLI do? It did a number of thing in your Next.js application:
- Installs all required dependencies for Tina.
- Defines a basic content schema in the
.tinadirectory. - Creates example content in the demo directory.
- Edits the
package.jsonto add scripts to launch tina (tina-dev, tina-build, tina-start).
Time to test
Now that you have Tina setup you can launch your application using the following command:
yarn tina-dev
Now, if you navigate to http://localhost:3000/admin you will see a new page. Go ahead and click the Edit with Tina button.
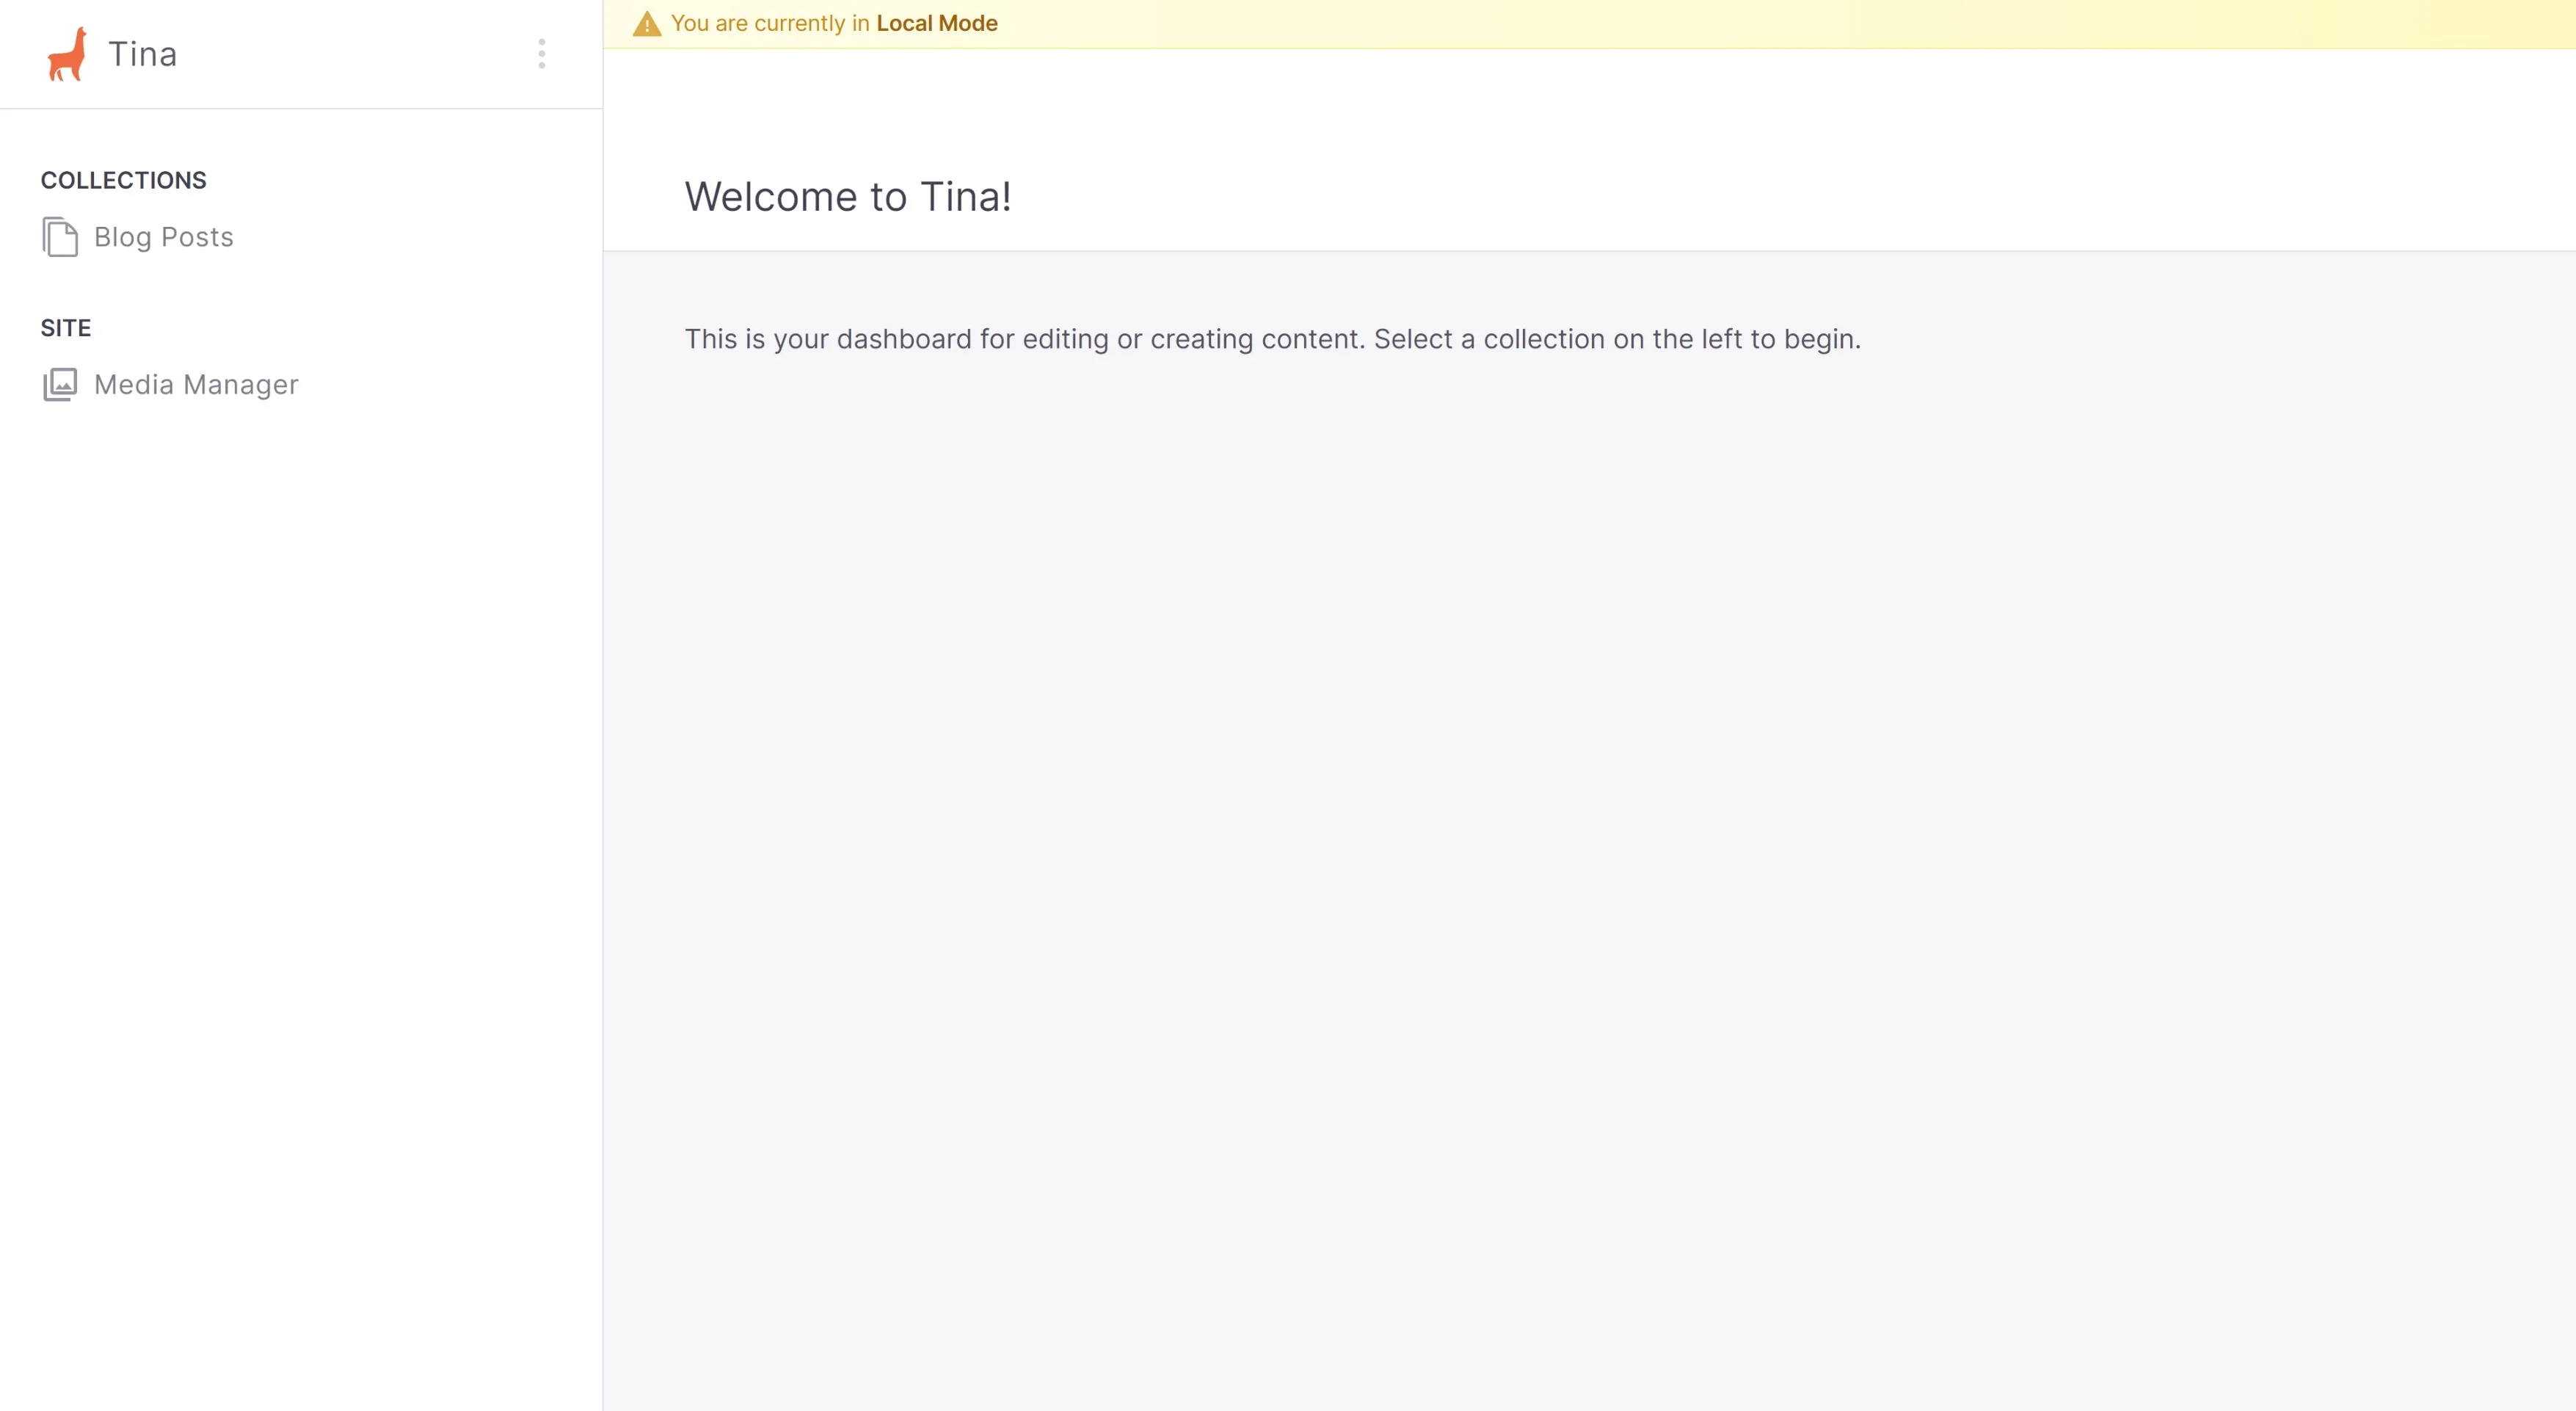
 You will land on a page that looks like this:
Edit the content
If you select “Blog Posts” on the left of the screen it will show you all the available posts for editing, you might notice that Tina placed a blog post named “Hello World” for you to look at. Go ahead and click it, and you will see an editable form. Feel free to change the title or the body and hit the save button.

What exactly happened?
When you hit save, Tina’s GraphQL layer saves those changes directly in the Markdown file “HelloWorld.md” located in the content/posts directory. Go ahead, open it up, see your new changes.
When you do this in production, Tina will commit this directly to GitHub for you!
Making the starter blog editable
Now you have seen Tina editing in action, let’s make the Next.js starter content editable. The first step is to define the shape of our content. You will see a folder called .tina which contains a schema.ts file. This file allows you to instruct Tina's Content API which content type to look for, how it should be labeled, and much more!
Collections
The top-level key in the schema is an array of collections, a collection informs the API about where to save content. In our guide there will be a posts collection but you also could have author and pages collections, for example.
Fields
The "fields" property instructs the Content API of the type of content expected. For example, text, as well as the queryable name and the name to display to your content team. Fields are an array of objects that are a child of collections. We use this to retrieve the content from the Markdown or JSON files. These fields should map to your frontmatter and we also use this to create the UI elements for editing.
fields: [{type: "string",label: "Title",name: "title"},{type: "string",label: "Blog Post Body",name: "body",isBody: true,},...]
References
We also have reference fields. This is an important concept, when you reference another collection, you're effectively saying: "this document belongs to that document". A great example of using a reference is author, as each post would have an author and you could have multiple authors, but you need to reference a particular author to the post.
{"label": "Author","name": "author","type": "reference","collections": ["author"]}
Before we move on you can read more about content modeling in our documentation.
Creating our content Schema
The Next.js blog starter comes with three example blog posts that you can use to shape the content in our schema. You can find on any of the blog posts in the _posts directory. Let’s look at the front matter of the preview.md.
--title: Preview Mode for Static Generationexcerpt: 'Lorem ipsum dolor sit amet, consectetur adipiscing elit, sed do eiusmod tempor incididunt ut labore et dolore magna aliqua. Praesent elementum facilisis leo vel fringilla est ullamcorper eget. At imperdiet dui accumsan sit amet nulla facilities morbi tempus.'coverImage: '/assets/blog/preview/cover.jpg'date: '2020-03-16T05:35:07.322Z'author: name: Joe Haddad picture: '/assets/blog/authors/joe.jpeg'ogImage: **url: '/assets/blog/preview/cover.jpg'---**Lorem ipsum dolor sit amet, ...
As you can see, you have quite a few fields that you want your content team to be able to edit in addition to the body of the blog post.
Making changes to the Schema
Open up the Tina schema.ts file located at /.tina/schema.ts To begin with underneath the object provided, you need to replace the current collection with the content you want:
{label: "Blog Posts",name: "post",- path: "content/posts"+ path: '_posts',fields: [{type: "string",label: "Title",name: "title"},{type: "string",label: "Blog Post Body",name: "body",isBody: true,},]}
You have only replaced a single line so far, which is to update the path to the correct location of the Starter Blog content.
Now you need to handle each field for our post’s frontmatter, below is the finished file:
//imports aboveexport default defineSchema({collections: [{label: 'Blog Posts',name: 'post',path: '_posts',fields: [{type: 'string',label: 'Title',name: 'title',},{type: 'string',label: 'Excerpt',name: 'excerpt',},{type: 'string',label: 'Cover Image',name: 'coverImage',},{type: 'string',label: 'Date',name: 'date',},{type: 'object',label: 'Author',name: 'author',fields: [{type: 'string',label: 'Name',name: 'name',},{type: 'string',label: 'Picture',name: 'picture',},],},{type: 'object',label: 'OG Image',name: 'ogImage',fields: [{type: 'string',label: 'Url',name: 'url',},],},{type: 'string',label: 'Body',name: 'body',ui: {component: "textarea"}isBody: true,},],},],});//configuration code below
There are a couple of things you might notice. First, there is a type called object, this works as a way to group fields together. On the UI which you will see in the future, it allows you to click into and edit each individual field.
Second, there's a string field called body with isBody set to true. By setting isBody to true we're stating that this field is responsible for the main body of the Markdown file. There can only be one field with the isBody: true property.
One final test
Now the new schema is ready, go ahead and restart your server using yarn tina-dev and navigate to http://localhost:3000/admin. You will see that if you select the Blog Posts on the left side nav that you now have all three posts from Next.js.
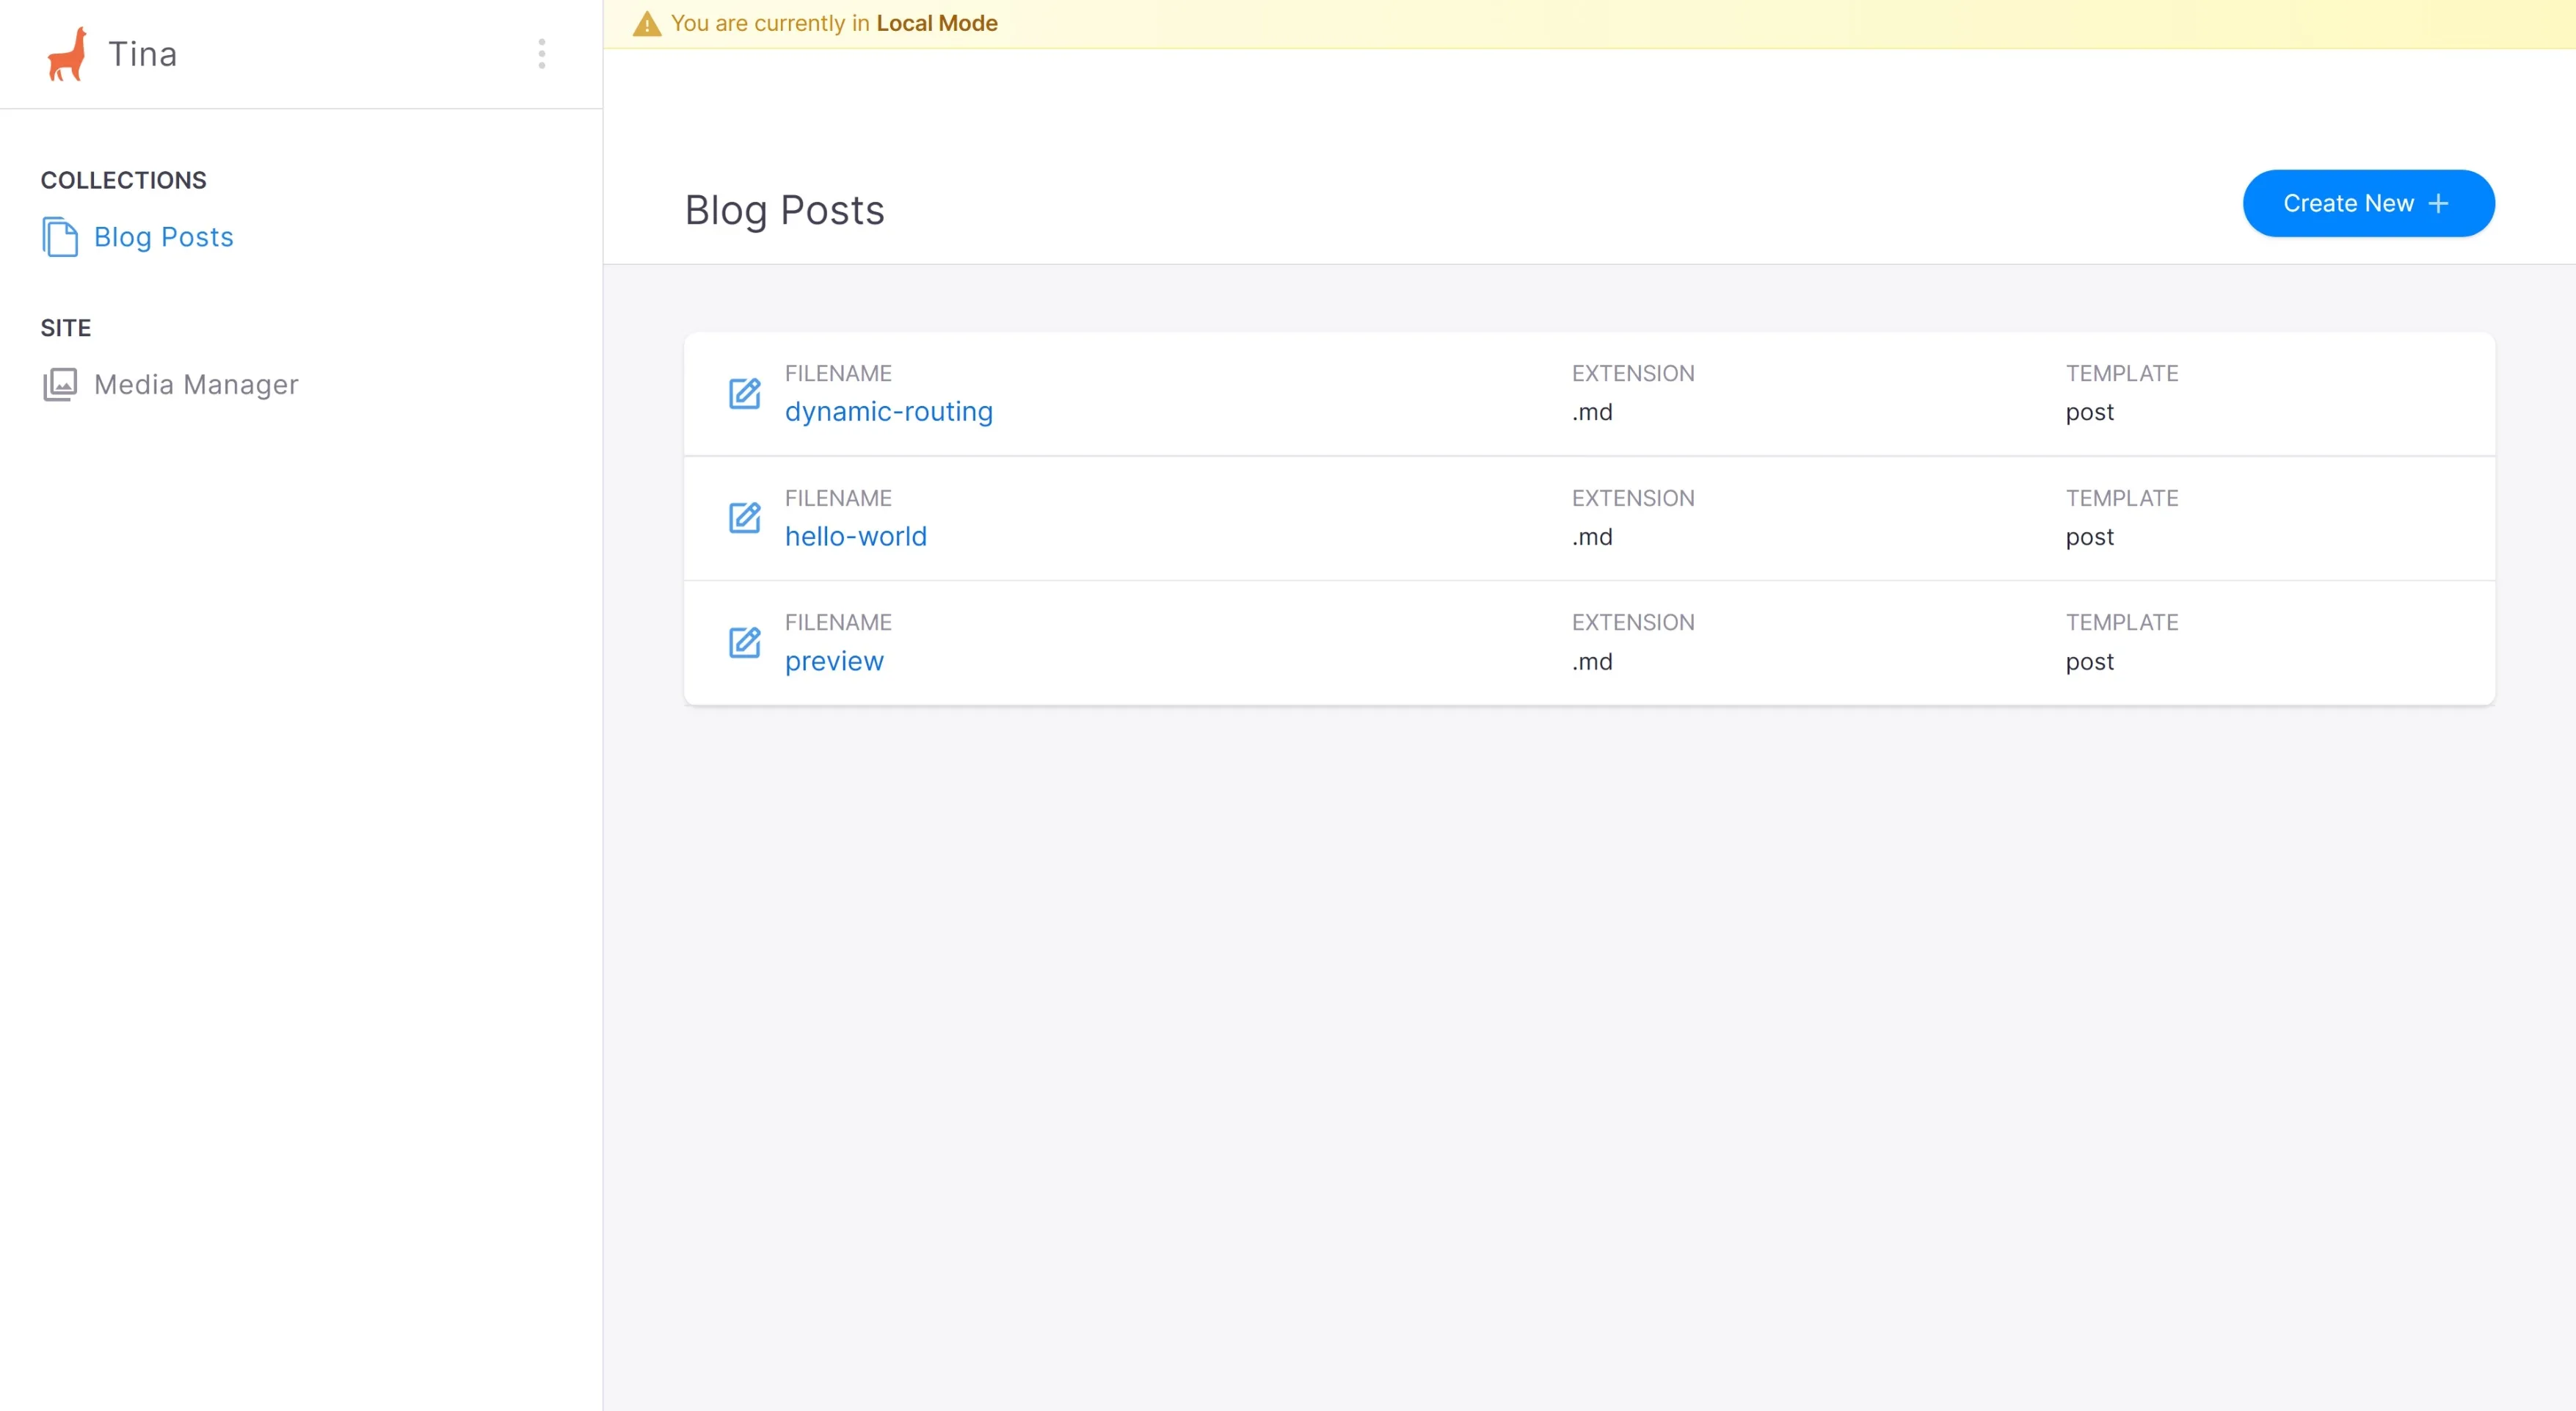
If you choose the first post “dynamic routing” you will see all of the fields that we defined in our schema which match all the front matter. Go ahead and edit some fields like the title or the body and hit save. Now if you navigate to http://localhost:3000/posts/dynamic-routing you will see those changes!
Where can you try, or keep up to date with Tina?
If you haven’t had a chance to try Tina yet, and don't have time to follow this tutorial, spin up a starter site on TinaCloud or with the command line and share your feedback.
Try a starterYou know that you will want to be part of this creative, innovative, supportive community of developers (and even some editors and designers) who are experimenting and implementing Tina daily.
Tina Community Discord
Tina has a community Discord that is full of Jamstack lovers and Tina enthusiasts. When you join you will find a place:
- To get help with issues
- Find the latest Tina news and sneak previews
- Share your project with Tina community, and talk about your experience
- Chat about the Jamstack
Tina Twitter
Our Twitter account (@tinacms) announces the latest features, improvements, and sneak peeks to Tina. We would also be psyched if you tagged us in projects you have built.