A/B testing can be an incredibly useful tool on any site. It allows you to increase user engagement, reduce bounce rates, increase conversion rate and effectively create content.
Tina opens up the ability to A/B test, allowing marketing teams to test content without the need for the development team once it has been implemented.
Introduction
We are going to break this tutorial into two sections:
- Setting up A/B Tests with NextJS's middleware.
- Configuring our A/B Tests with Tina, so that our editors can spin up dynamic A/B Tests.
Creating our Tina application
This blog post is going to use the Tailwind Starter. Using the create-tina-app command, choose "Next.js Starter" as the starter template:
# create our Tina applicationnpx create-tina-app@latest a-b-testing✔ Which package manager would you like to use? › Yarn✔ What starter code would you like to use? › Next.js StarterDownloading files from repo tinacms/tina-cloud-starter. This might take a moment.Installing packages. This might take a couple of minutes.## Move into the directory and make sure everything is updated.cd a-b-testingyarn upgradeyarn dev
With your site running, you should be able to access it at http://localhost:3000
Planning our tests
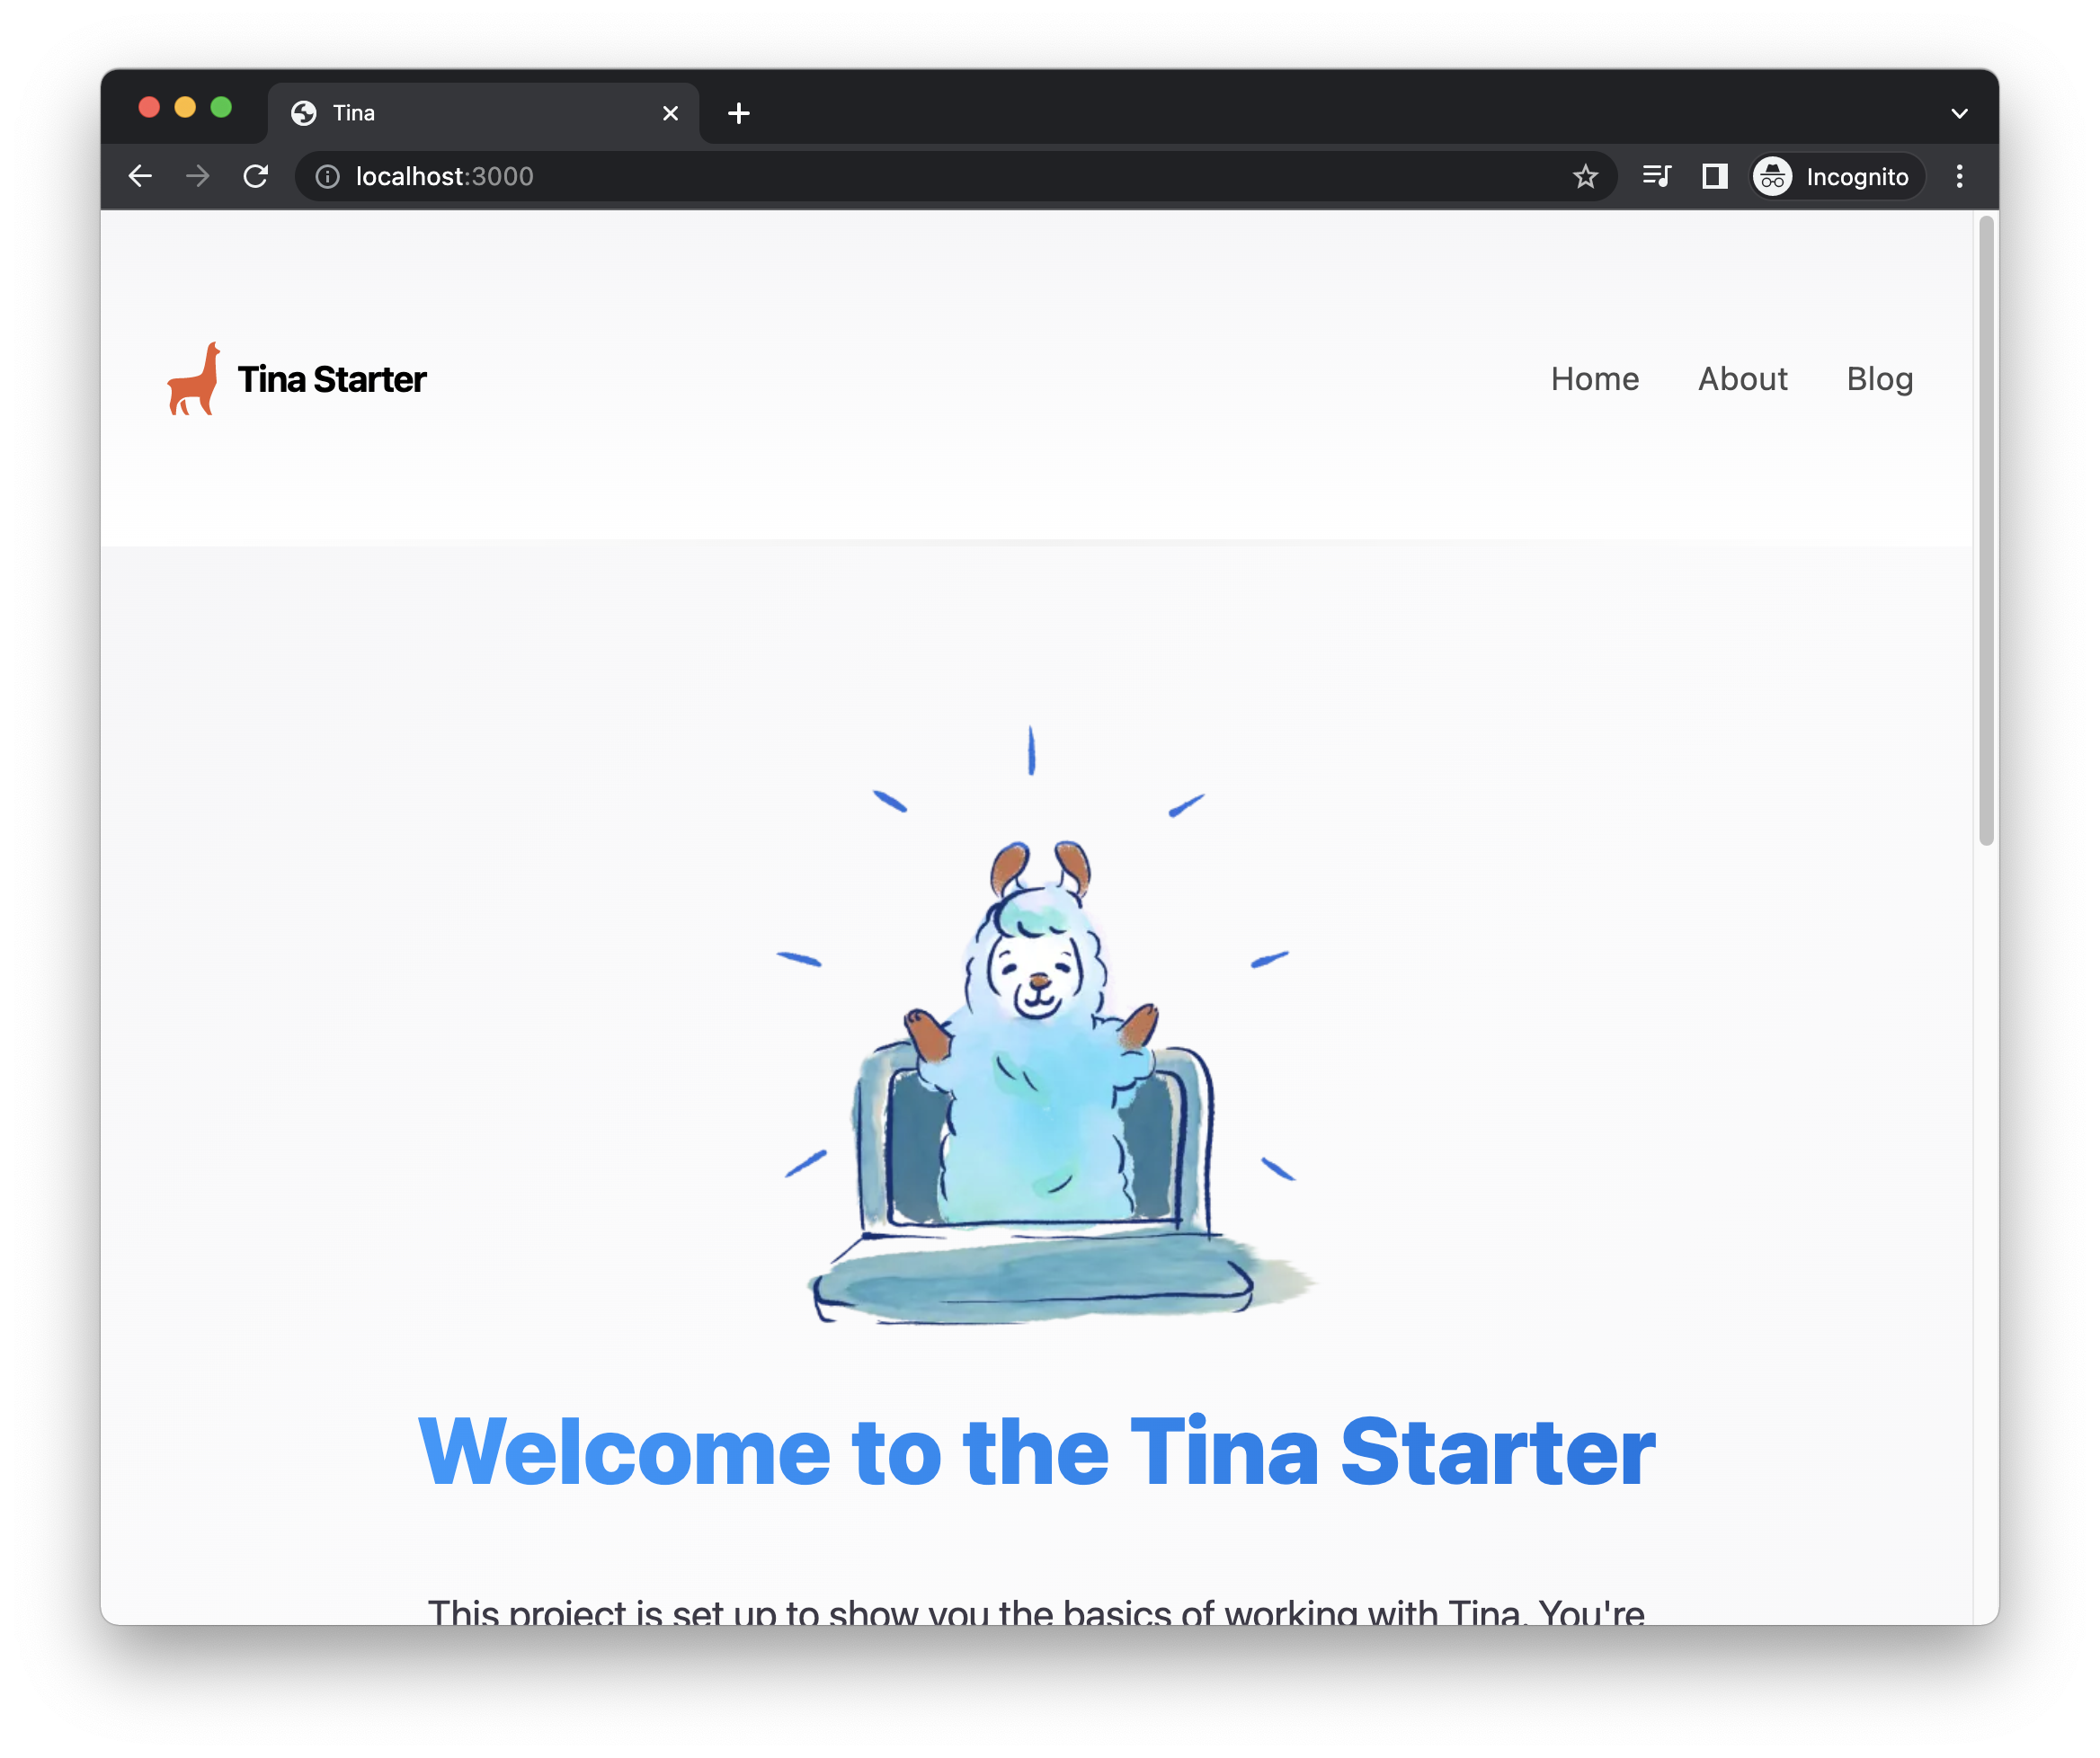
The home page of the starter should look like this:

This page is already setup nicely for an A/B test, its page layout ([slug].tsx) renders dynamic pages by accepting a variable slug.
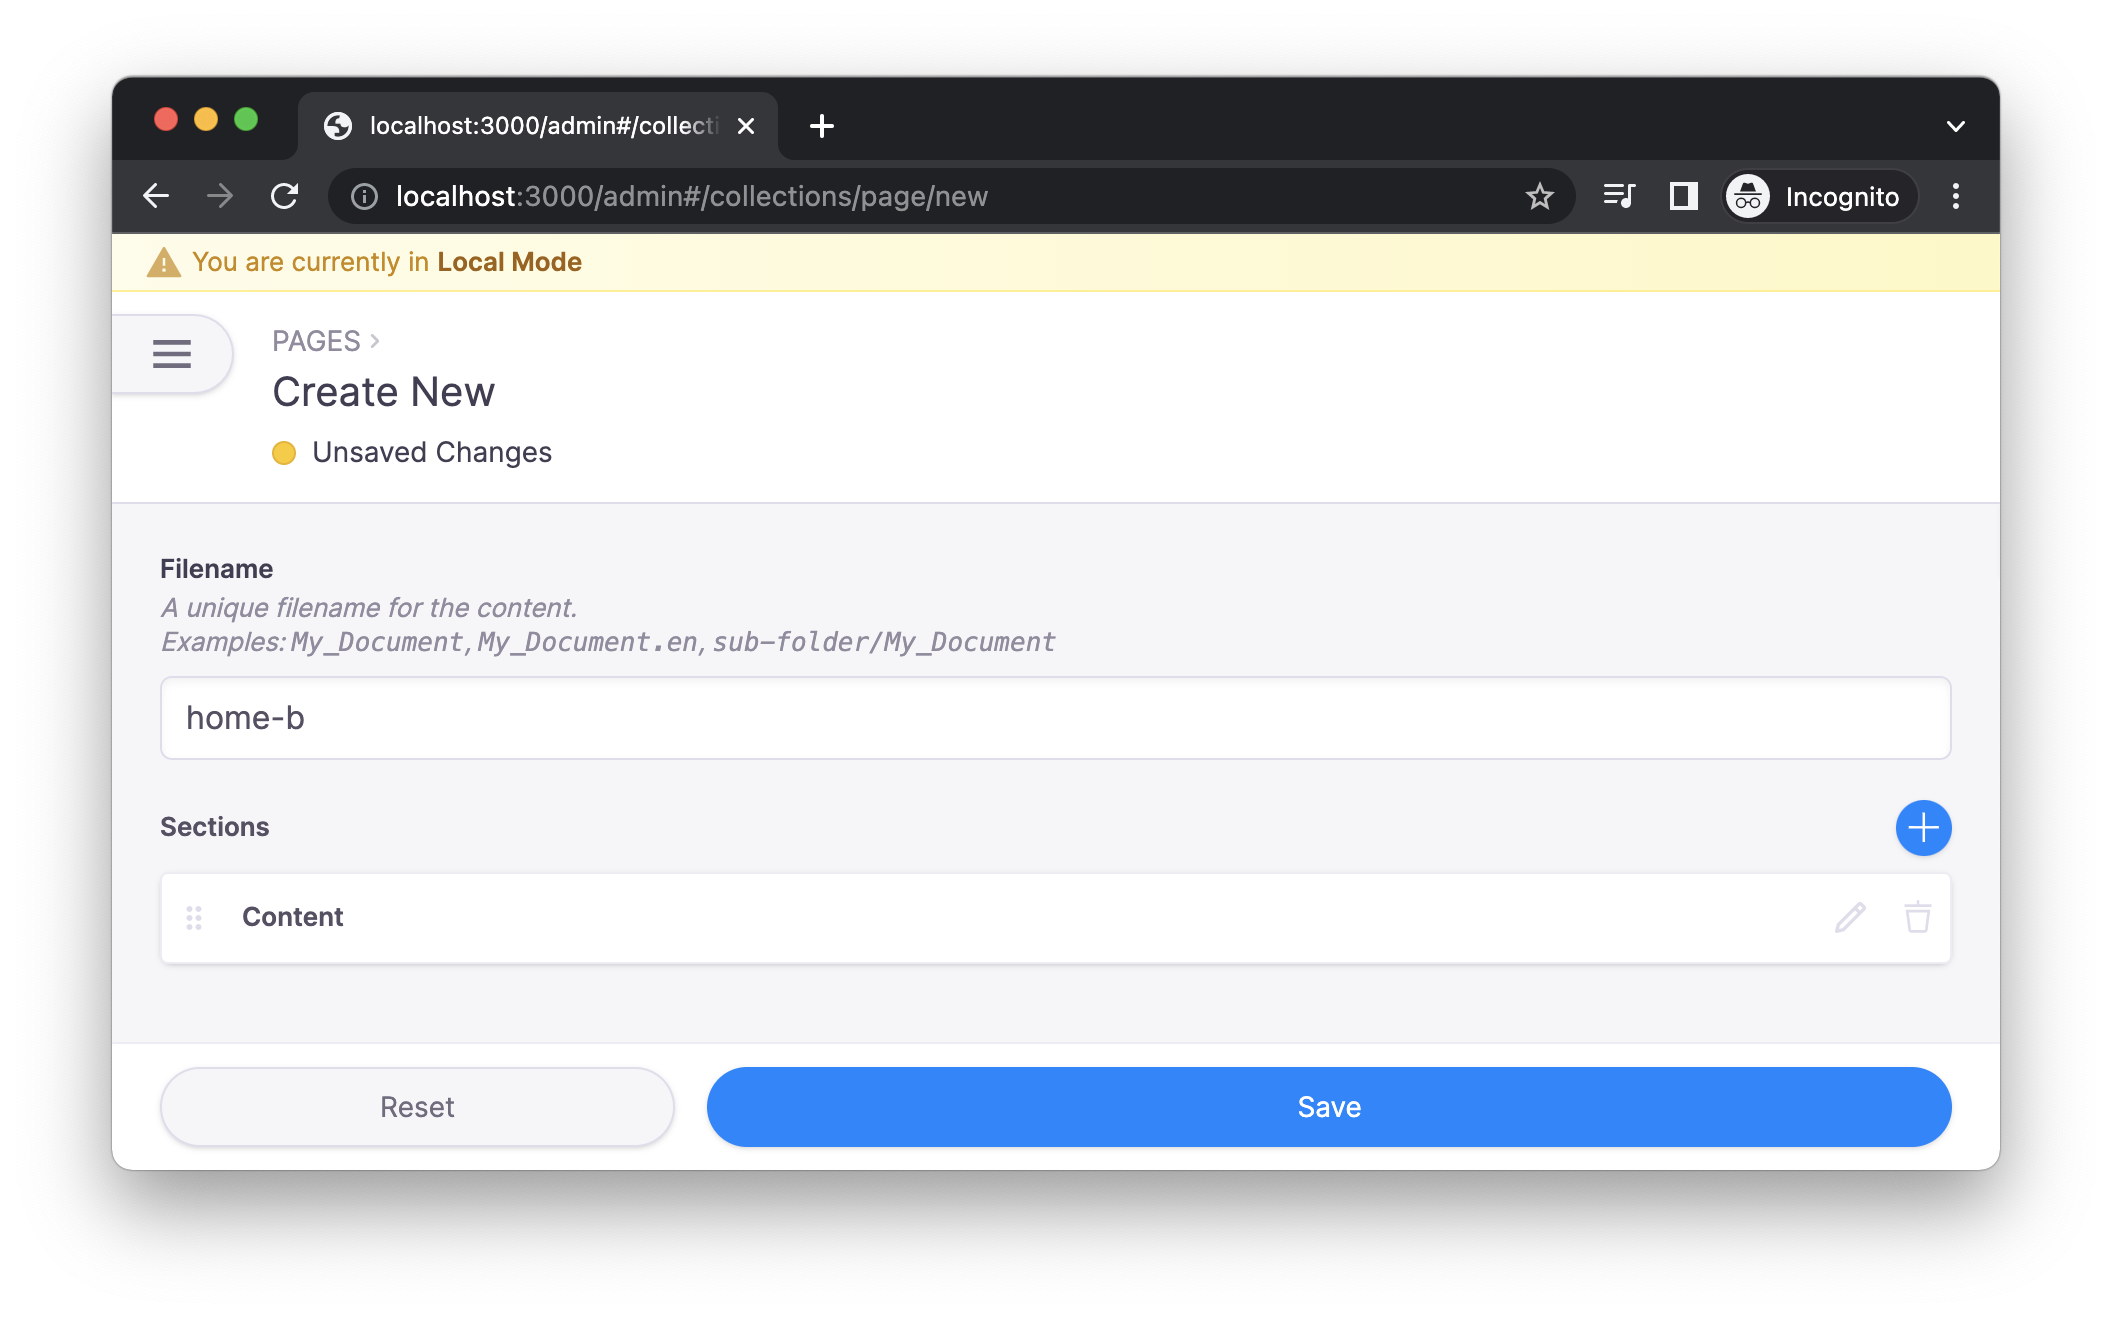
Let's start by creating an alternate version of the homepage called home-b.
You can do so in Tina at http://localhost:3000/admin#/collections/page/new

Once that's done, go to: http://localhost:3000/home-b to confirm that your new /home-b page has been created.
Setting up our A/B tests
Ultimately, we want our site to dynamically swap out certain pages for alternate page-variants, but we will first need a place to reference these active A/b tests.
Let's create the following file at content/ab-test/index.json:
{"tests": [{"testId": "home","href": "/","variants": [{"testId": "b","href": "/home-b"}]}]}
We'll use this file later to tell our site that we have an A/B test on our homepage, using /home-b as a variant.
In the next step, we'll setup some NextJS middleware to dynamically use this page variant.
Delivering dynamic pages with NextJS middleware
NextJS's middleware allows you to run code before the request is completed. We will leverage NextJS's middleware to conditionally swap out a page for its page-variant.
You can learn more about NextJS's middleware here.
Start by creating the pages/_middleware.ts file, with the following code
//pages/_middleware.tsimport { NextRequest, NextResponse } from 'next/server'import abTestDB from '../content/ab-test/index.json'import { getBucket } from '../utils/getBucket'// Check for AB tests on a given pageexport function middleware(req: NextRequest) {// find the experiment that matches the request's urlconst matchingExperiment = abTestDB.tests.find((test) => test.href == req.nextUrl.pathname)if (!matchingExperiment) {// no matching A/B experiment found, so use the original page slugreturn NextResponse.next()}const COOKIE_NAME = `bucket-${matchingExperiment.testId}`const bucket = getBucket(matchingExperiment, req.cookies[COOKIE_NAME])const updatedUrl = req.nextUrl.clone()updatedUrl.pathname = bucket.url// Update the request URL to our bucket URL (if its changed)const res =req.nextUrl.pathname == bucket.url? NextResponse.next(): NextResponse.rewrite(updatedUrl)// Add the bucket to cookies if it's not already thereif (!req.cookies[COOKIE_NAME]) {res.cookie(COOKIE_NAME, bucket.id)}return res}
There's a little bit going on in the above snippet, but basically:
- We check if there's an active experiment for our request's URL
- If there is, we call
getBucketto see which version of the page we should deliver - We update the user's cookies so that they consistently get delivered the same page for their given bucket.
You'll notice that the above code references a getBucket function. We will need to create that, which will conditionally put us in a bucket for each page's A/B test.
// /utils/getBucket.tsexport const getBucket = (matchingABTest: any, bucketCookie?: string) => {// if we already have been assigned a bucket, use that// otherwise, call getAssignedBucketId to put us in a bucketconst bucketId =bucketCookie ||getAssignedBucketId([matchingABTest.testId,...matchingABTest.variants.map((t) => t.testId),])// check if our bucket matches a variantconst matchingVariant = matchingABTest.variants.find((t) => t.testId == bucketId)if (matchingVariant) {// we matched a page variantreturn {url: matchingVariant.href,id: bucketId,}} else {//invalid bucket, or we're matched with the default AB testreturn {url: matchingABTest.href,id: matchingABTest.testId,}}}function getAssignedBucketId(buckets: readonly string[]) {// Get a random number between 0 and 1let n = cryptoRandom() * 100// Get the percentage of each bucketconst percentage = 100 / buckets.length// Loop through the buckets and see if the random number falls// within the range of the bucketreturn (buckets.find(() => {n -= percentagereturn n <= 0}) ?? buckets[0])}function cryptoRandom() {return crypto.getRandomValues(new Uint32Array(1))[0] / (0xffffffff + 1)}
The above code snippet does the following:
- Checks if we're already in a bucket, and if not, it calls
getAssignedBucketIdto randomly put us in a bucket. - Returns the matching A/B test info for our given bucket.
That should be all for our middleware! Now, you should be able to visit the homepage at http://localhost:3000, and you will have a 50-50 chance of being served the contents of home.md, or home-b.md. You can reset your bucket by clearing your browser's cookies.
Using Tina to create A/B Tests
At this point, our editors can edit the contents of both home.md & home-b.md, however we'd like our editors to be empowered to setup new A/B tests.
Let's make our content/ab-test/index.json file from earlier editable, by creating a Tina collection for it.
Open up your schema.ts and underneath the Pages collection, create a new collection like this:
/// ...,{label: "AB Test",name: "abtest",path: "content/ab-test",format: "json",}
We now need to add the fields we want our content team to be able to edit, so that would be the ID, the page to run the test against, and the variants we want to run. We also want to be able to run tests on any number of pages so we will be using a list of objects for the tests field.
If you want to learn more about all the different field types and how to use them, check them out in our Content Modeling documentation.
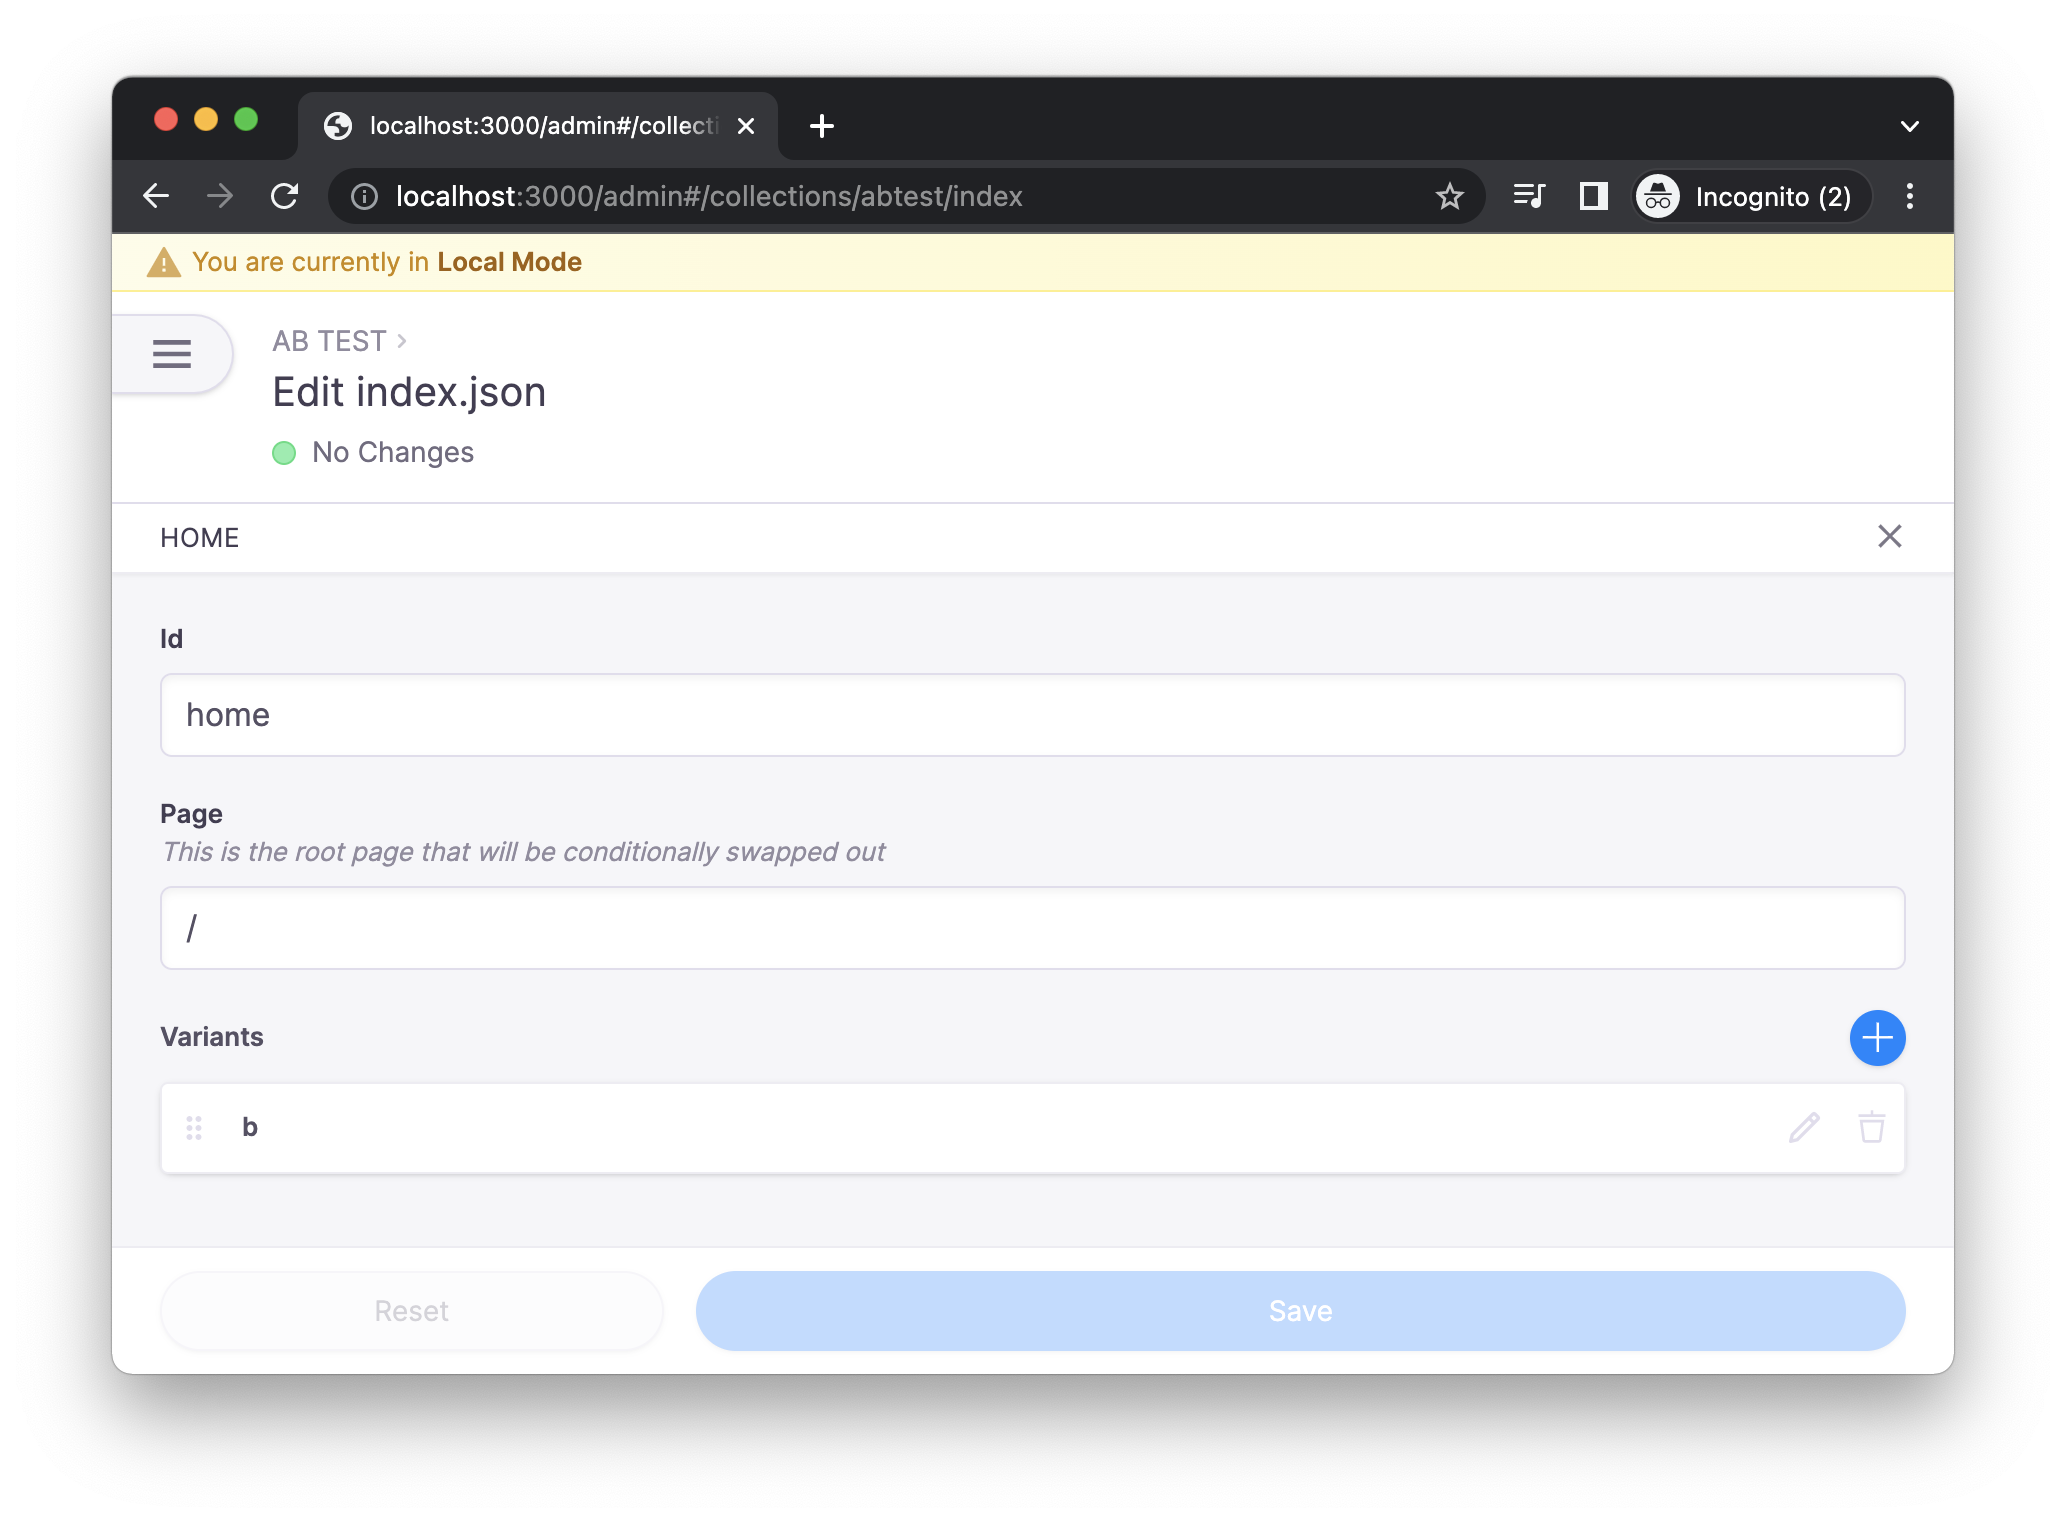
{label: "AB Test",name: "abtest",path: "content/ab-test",format: "json",fields: [{type: "object",label: "tests",name: "tests",list: true,ui: {itemProps: (item) => {return { label: item.testId || "New A/B Test" };},},fields: [{ type: "string", label: "Id", name: "testId" },{type: "string",label: "Page",name: "href",description:"This is the root page that will be conditionally swapped out",},{type: "object",name: "variants",label: "Variants",list: true,ui: {itemProps: (item) => {return { label: item.testId || "New variant" };},},fields: [{ type: "string", label: "Id", name: "testId" },{type: "string",label: "Page",name: "href",description:"This is the variant page that will be conditionally used instead of the original",},],},],},],}
You may notice theuiprop. We are using this to give a more descriptive label to the list items. You can read about this in our extending Tina documentation.
We also need to update our RouteMappingPlugin in .tina/schema.ts to ensure that our collection is only editable with the basic editor.
const RouteMapping = new RouteMappingPlugin((collection, document) => {if (collection.name == 'abtest') {return undefined}// ...
Now, restart your dev server, and go to: http://localhost:3000/admin#/collections/abtest/index. Your editors should be able to wire up their own A/B tests!

The process for editors to create new A/B tests would be as follows:
- Editor creates a new page in the CMS
- Editor wires up the page as a page-variant in the "A/B Tests" collection
And that's it! We hope this empowers your team to start testing out different page variants to start optimizing your content!
How to keep up to date with Tina?
The best way to keep up with Tina is to subscribe to our newsletter. We send out updates every two weeks. Updates include new features, what we have been working on, blog posts you may have missed, and more!
You can subscribe by following this link and entering your email: https://tina.io/community/
Tina Community Discord
Tina has a community Discord full of Jamstack lovers and Tina enthusiasts. When you join, you will find a place:
- To get help with issues
- Find the latest Tina news and sneak previews
- Share your project with the Tina community, and talk about your experience
- Chat about the Jamstack
Tina Twitter
Our Twitter account (@tinacms) announces the latest features, improvements, and sneak peeks to Tina. We would also be psyched if you tagged us in projects you have built.